How to paste an image and turn it into a cookie cutter
Paste clipart straight into CookieCutter Creator, trace the edges, size the cutter in inches, and export an STL ready for printing.
Step 1: Copy and paste a PNG or clipart
Open your reference art in another tab, copy it, then switch to CookieCutter Creator. Press Ctrl+V on Windows or Cmd+V on macOS to paste directly onto the canvas. Pasted images land at the center so you can immediately begin tracing.

Step 2: Optionally add more details with any graphic editor
If you want extra flourishes - text, borders, small icons - add them now in your preferred graphics app and paste the updated art back in, or use CookieCutter Creator's built-in drawing tools to sketch freehand shapes before tracing.

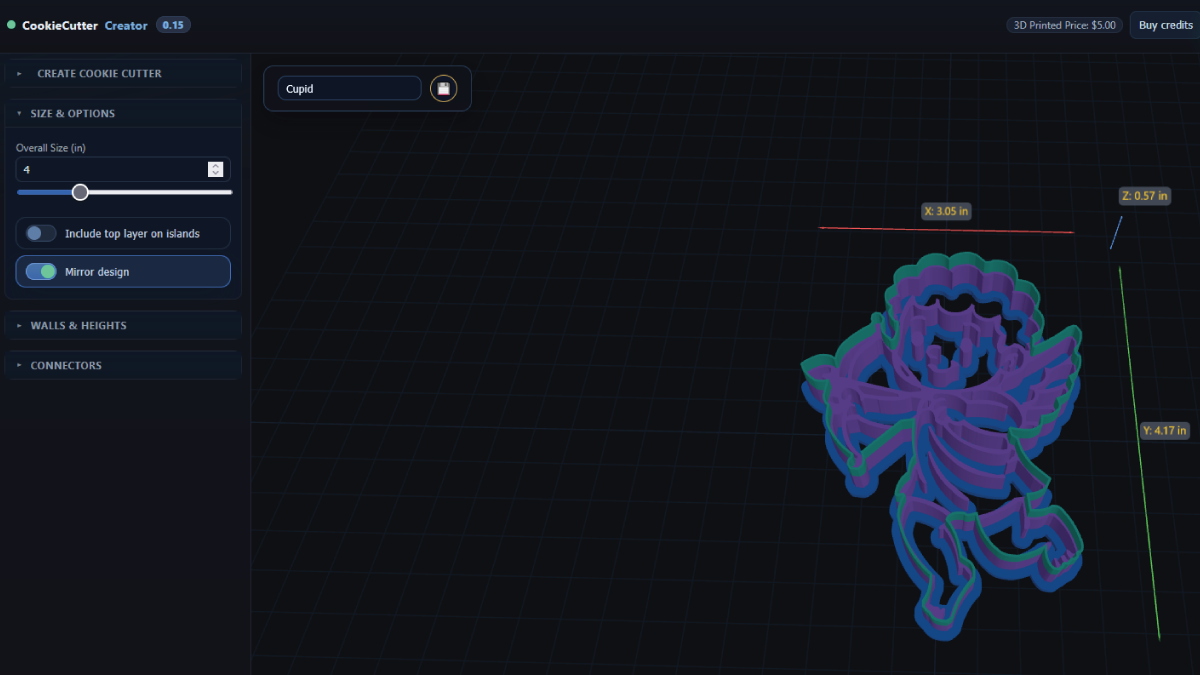
Step 3: Size to inches and preview layers
Switch to the sizing panel and enter your target dimension in inches - 2.5 inches for bite-size cutters or 4 inches for statement pieces. Review the live layer preview to confirm the wall and rim trace match your dough thickness.
Step 4: Create the 3D model and export
Click Create 3D to generate the cutter shell. Inspect the render for floating parts, then choose Export STL. Your download includes the complete cutter at the size you set.

FAQ
What is the difference between pasting and uploading?
Pasting keeps you in flow - copy art from another program and press paste in CookieCutter Creator. Uploading goes through your file browser but otherwise shares the same trace tools.
Which image formats paste best?
Transparent PNGs or SVG clipart keep edges sharp and avoid background cleanup. JPGs work too; increase contrast before tracing for the cleanest walls.
How do I fix jagged edges after pasting?
Lower the tracing tolerance, toggle smooth corners on, and switch to the cleanup brush to erase stray fragments or double lines.
Can I mix paste and uploads in one project?
Yes. You can paste multiple images, upload SVGs, and even draw freehand layers in a single design before exporting.
Next up
-
Turn Your Business Logo Into Cookie Cutters, Stamps & Stencils
Upload your business logo, clean up small details, then export an STL or order printed tools shipped to you.
-
How to adjust layer widths & heights (Walls & Heights panel)
Dial in wall and rim widths so cutters stay strong and release cleanly.